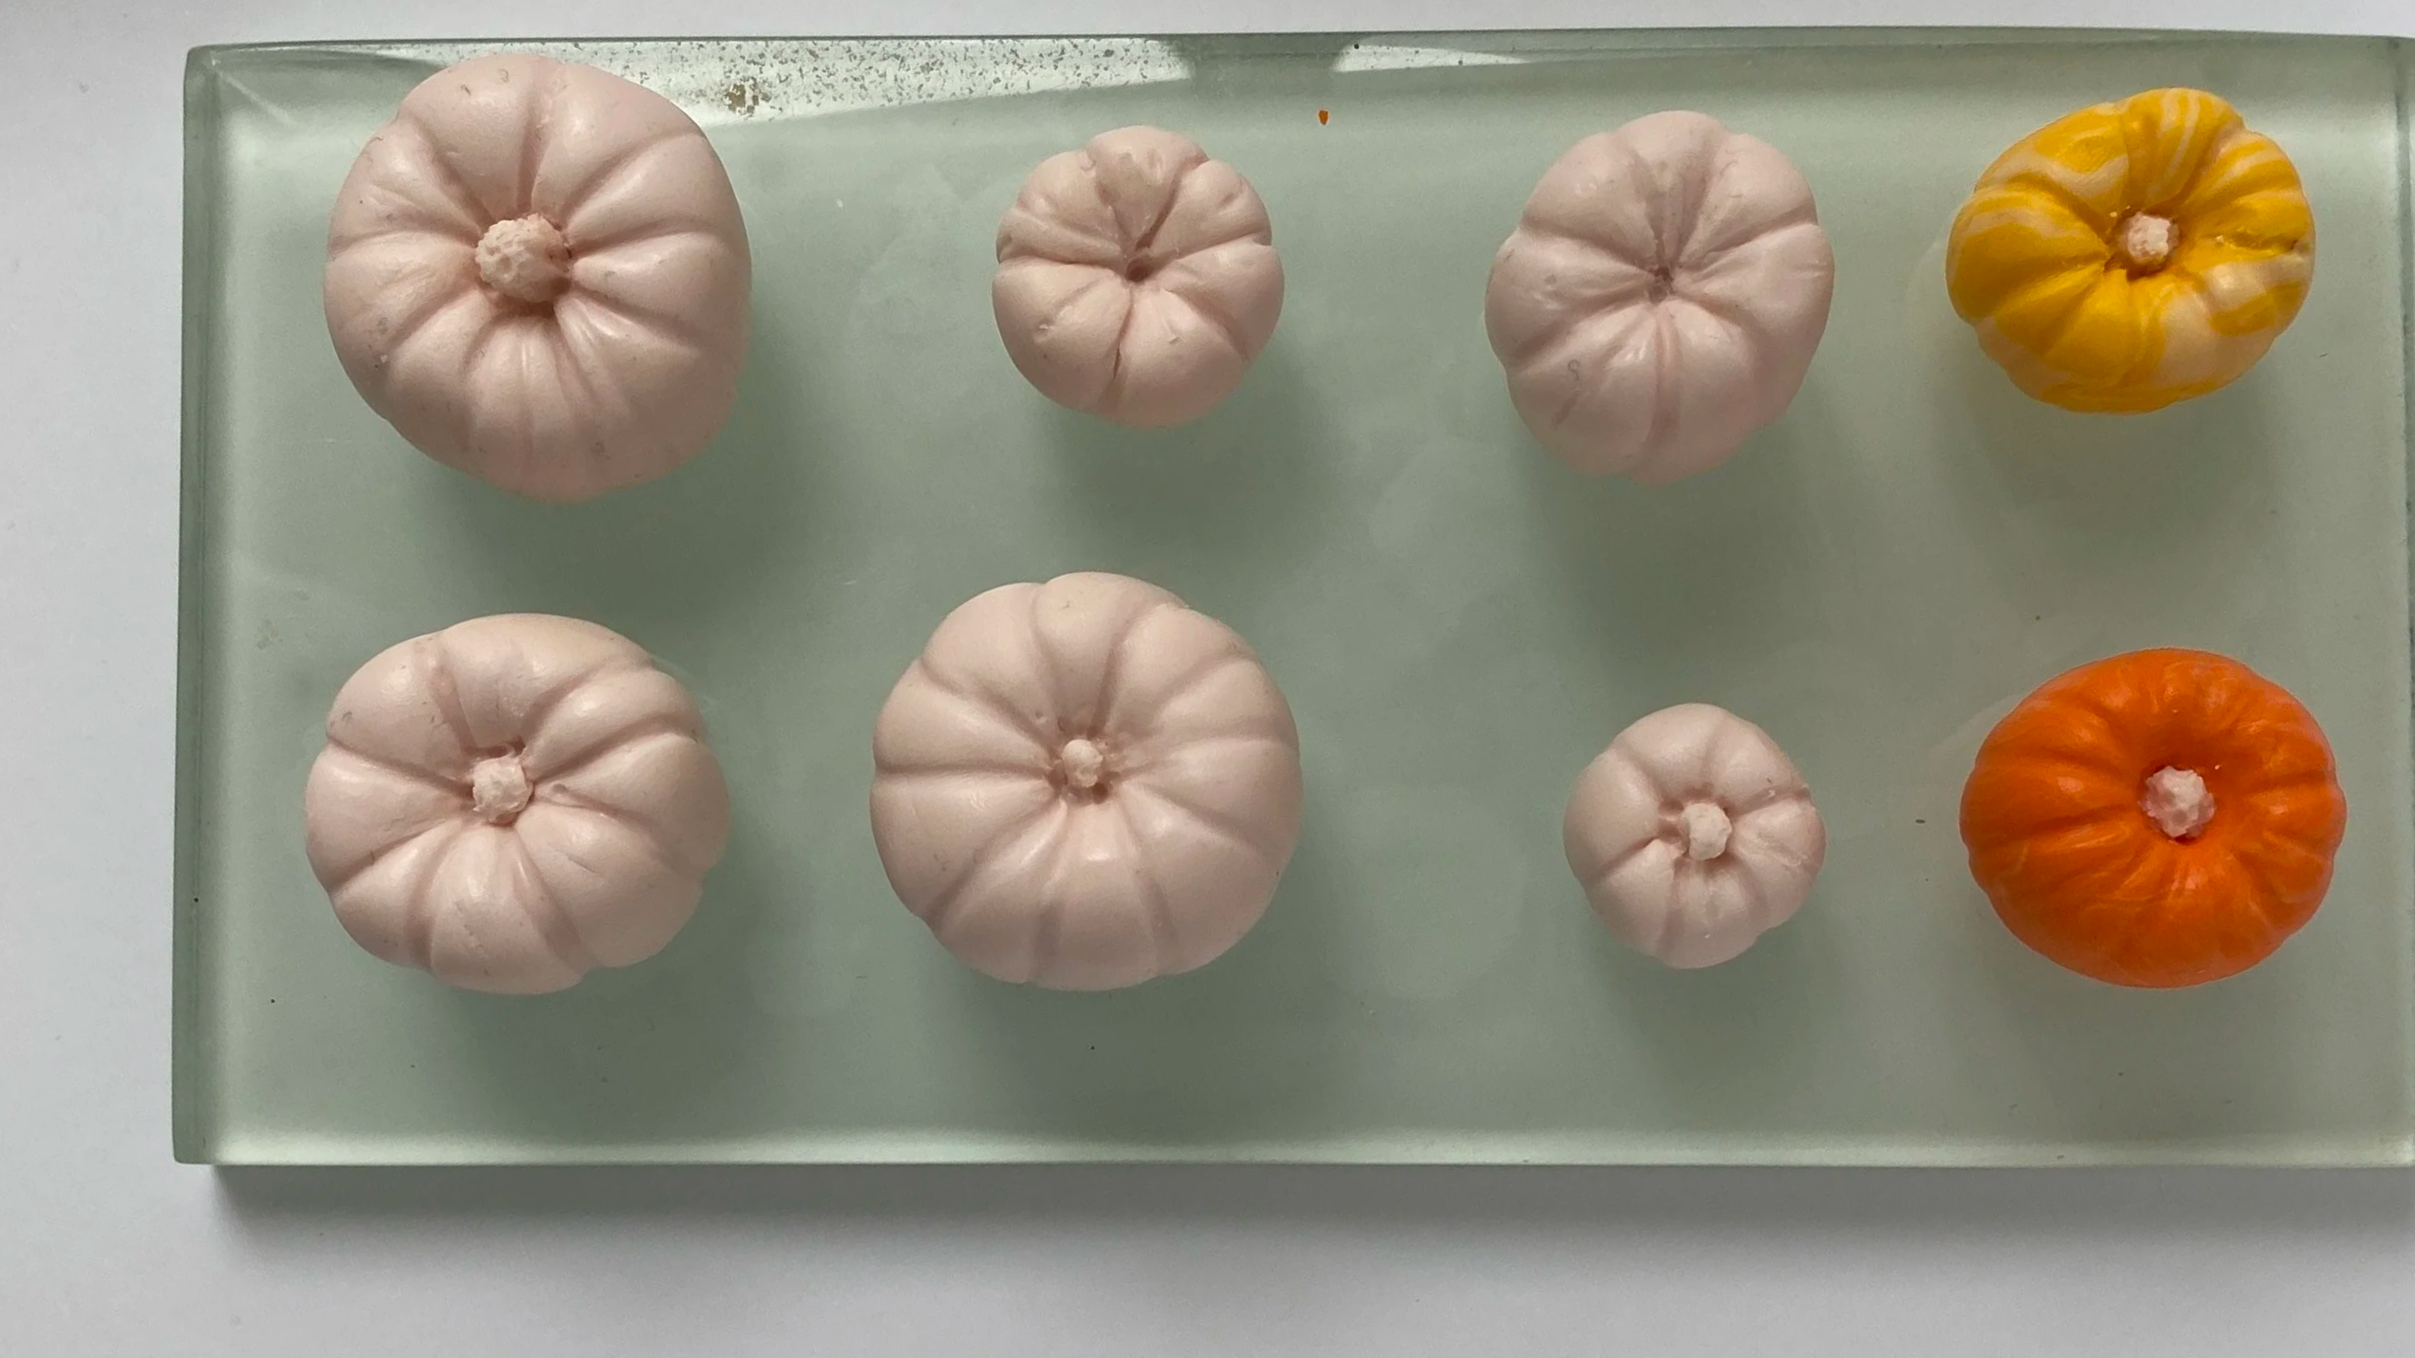
The humble pumpkin. Perhaps a little predictable for October? Nevertheless, we are obsessed and making hundreds of them regardless? Also Yes.
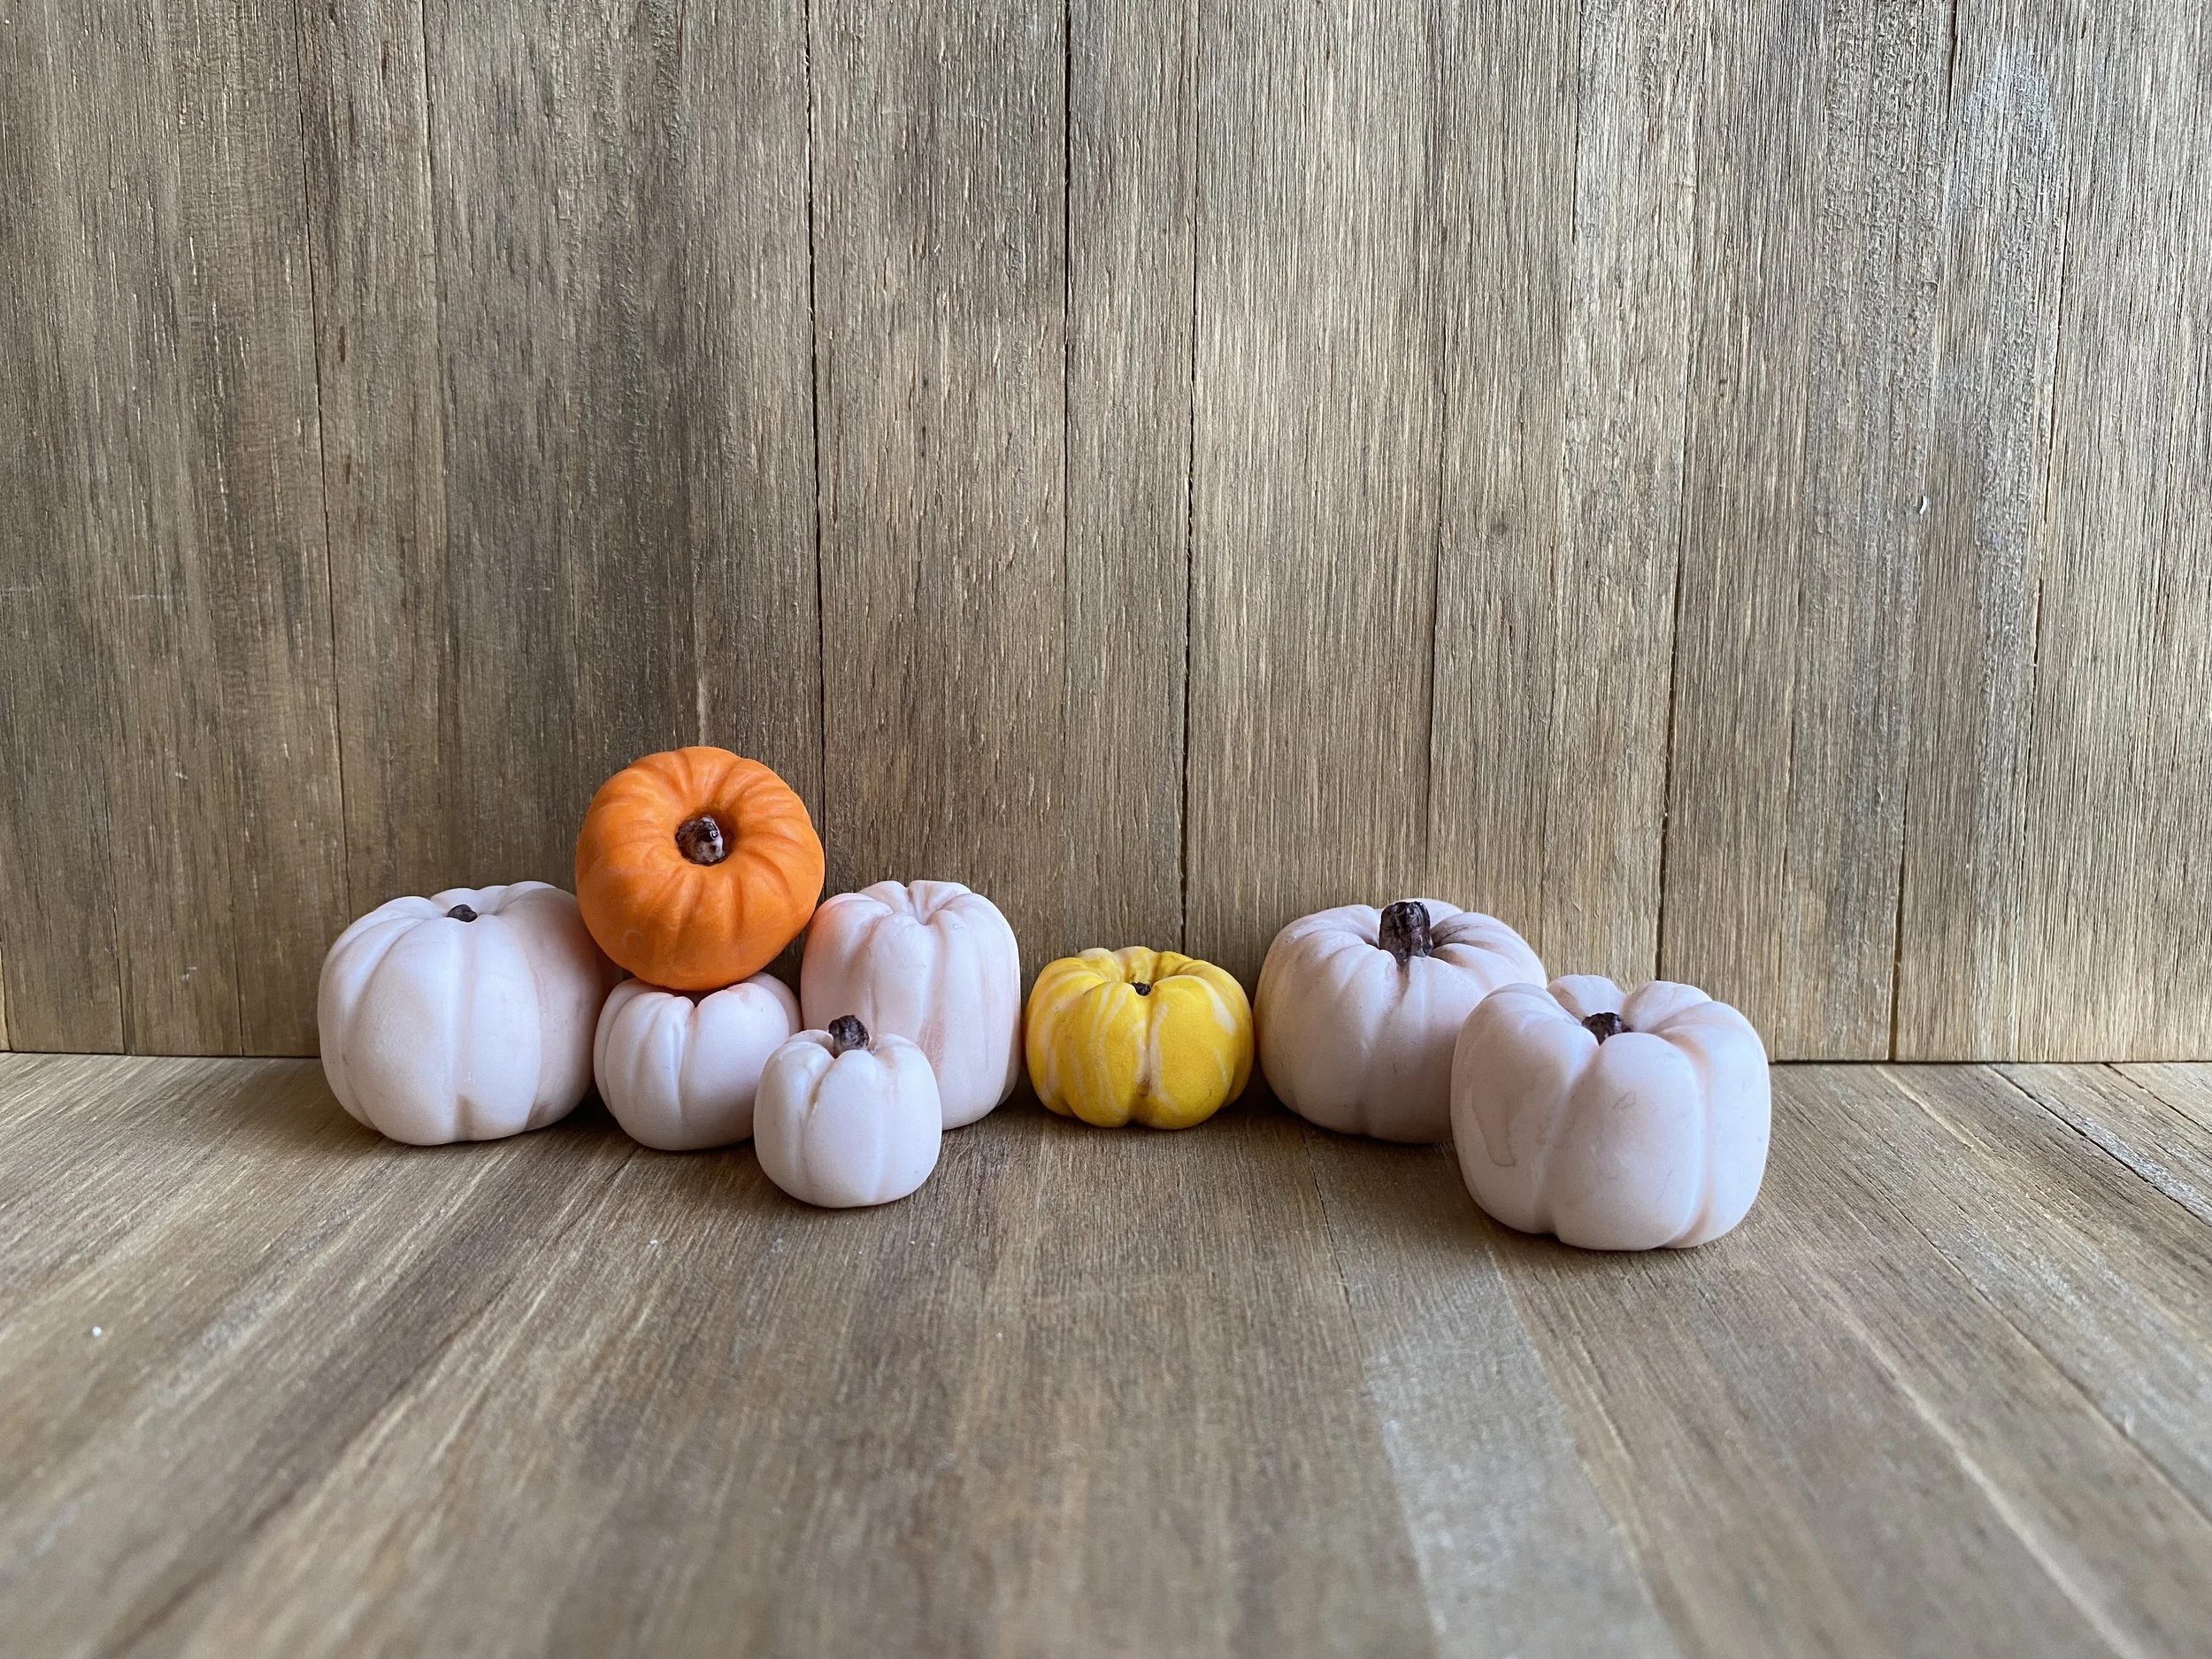
Real pumpkins and squash grow in such a wide range of colours, shapes and sizes so the scope to just experiment and not worry about a ‘perfect’ outcome makes for a low-stakes, seasonal mini-project. This is a great project for practising polymer clay techniques and using up scraps of clay that may otherwise go to waste.
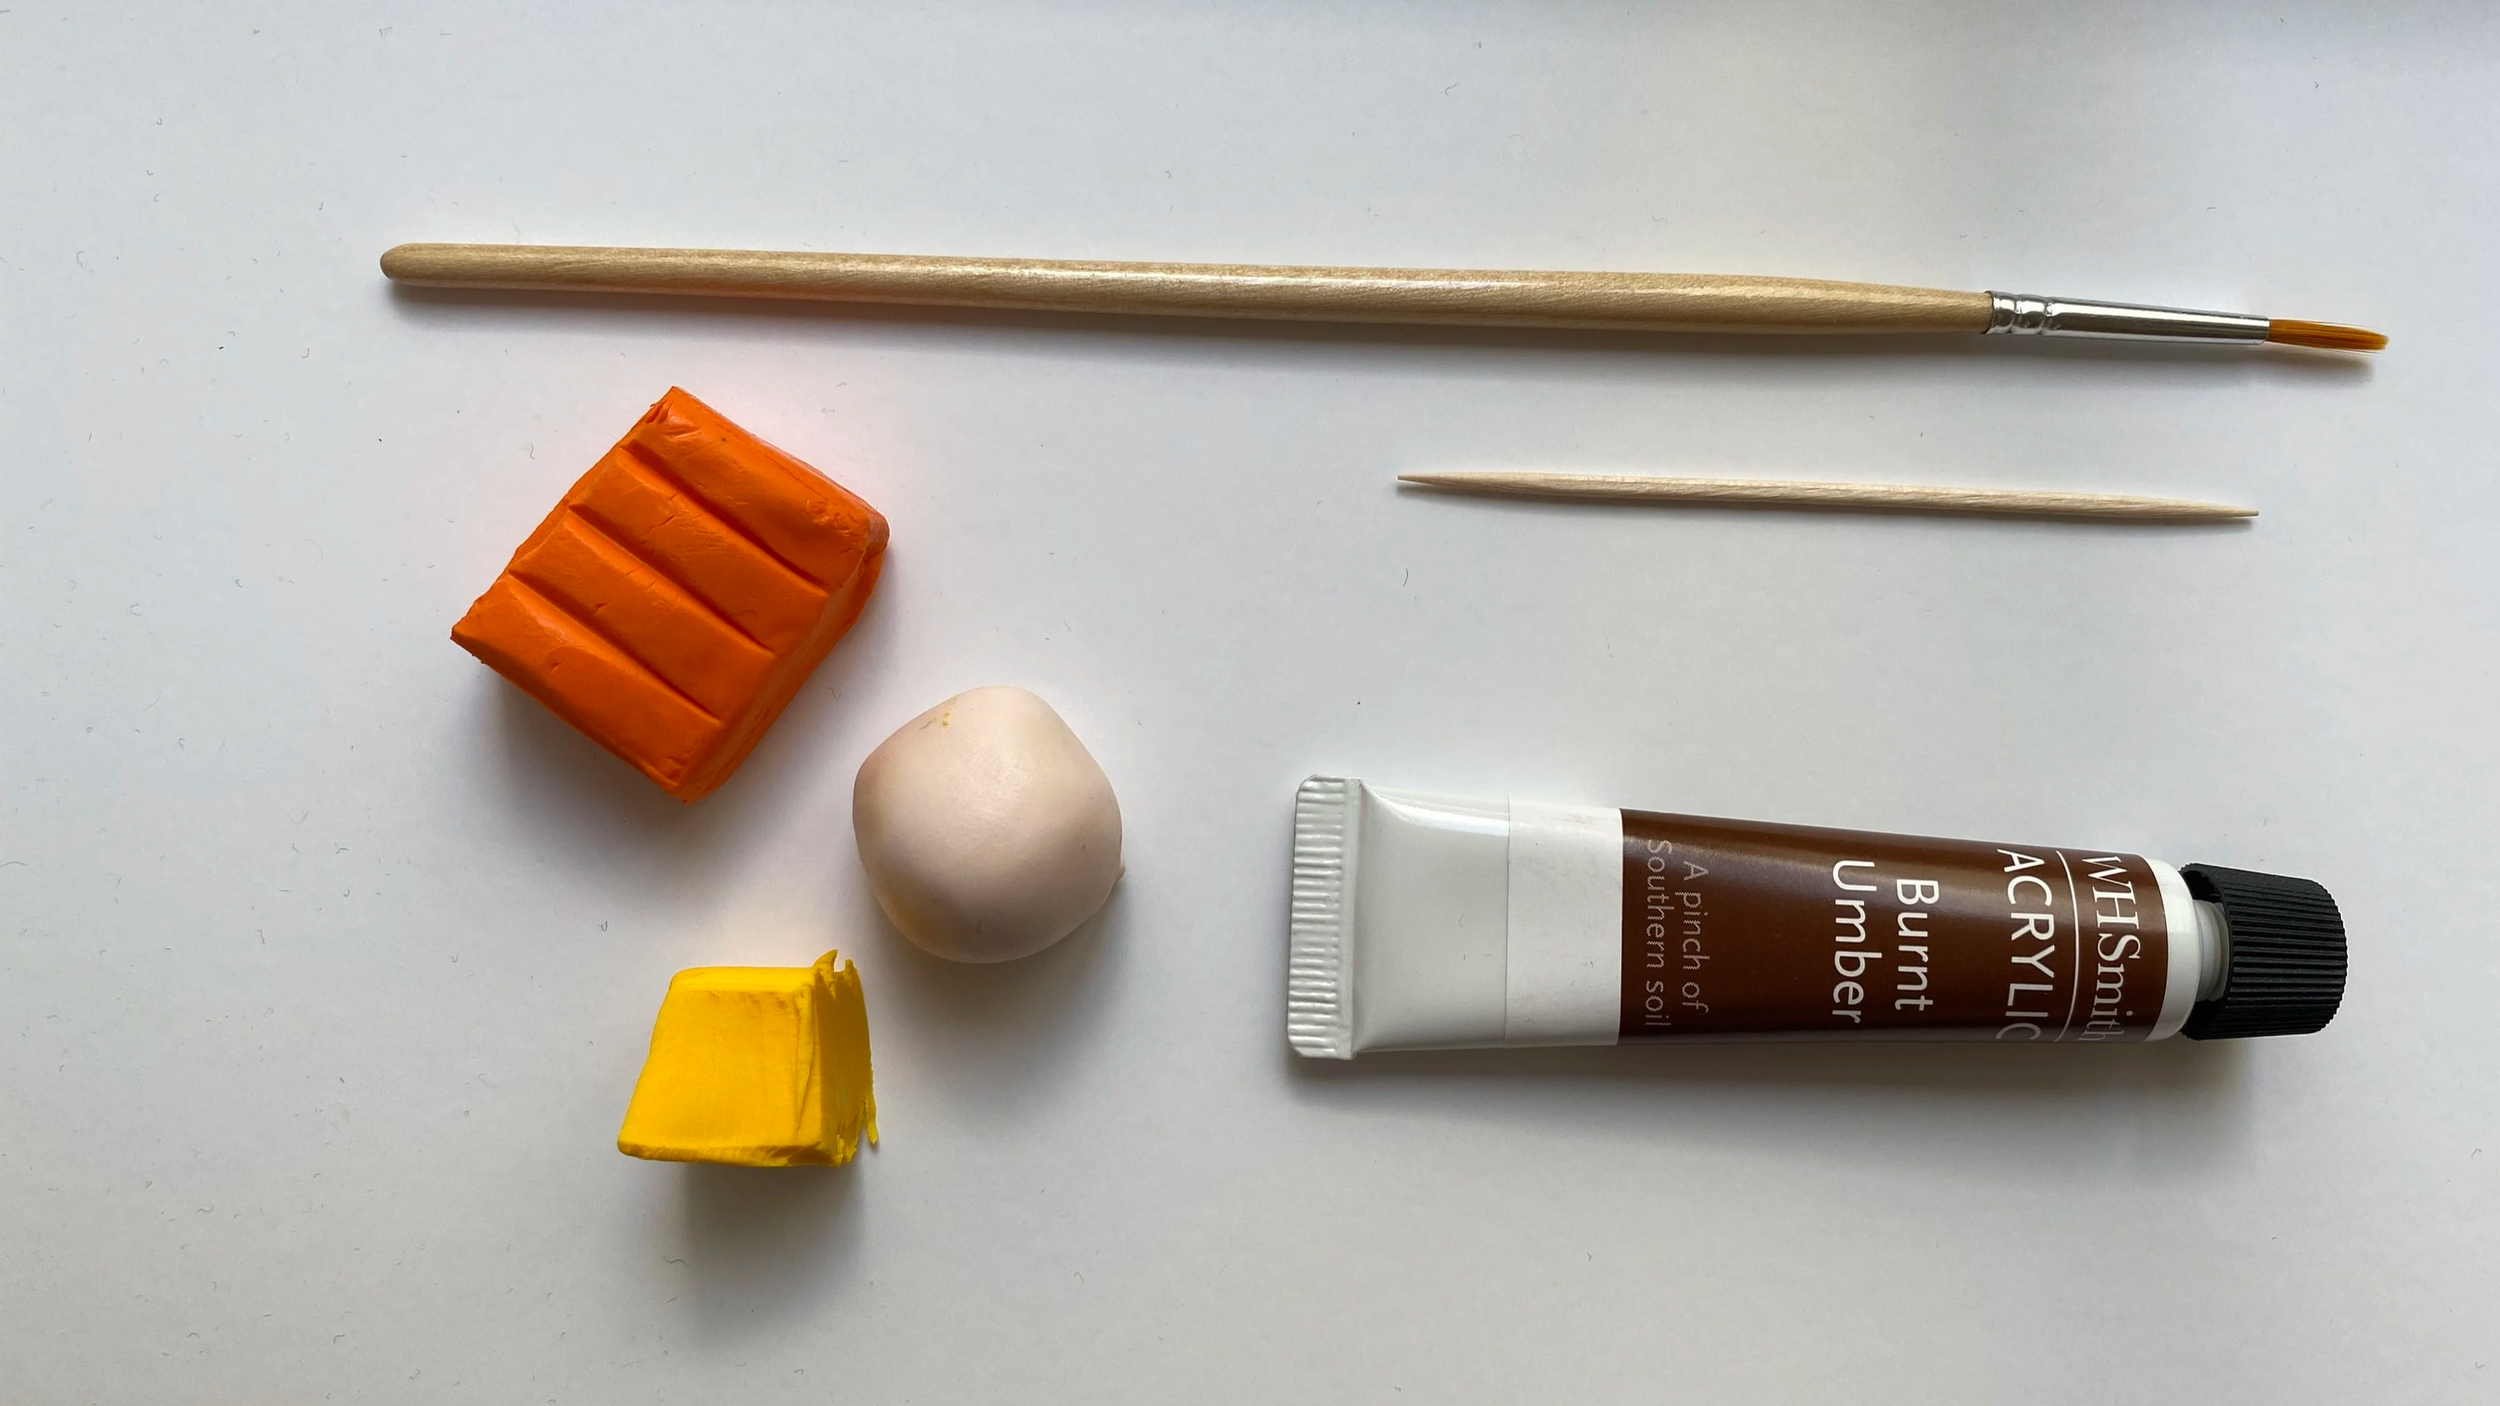
Materials:
Polymer clay - Here we used Fimo in a range or rose, orange, yellow and white
A clean work surface
Cocktail stick
A ceramic tile
Balling tool (optional)
Acrylic paint
Small paintbrush
Condition the clay:
Take the time to properly condition your clay, kneading and rolling it until it reaches a soft, mouldable consistency that’s easy to work with. If you’re using up clay scraps this may take a few more minutes if the clay has dried out a little.
Divide the clay:
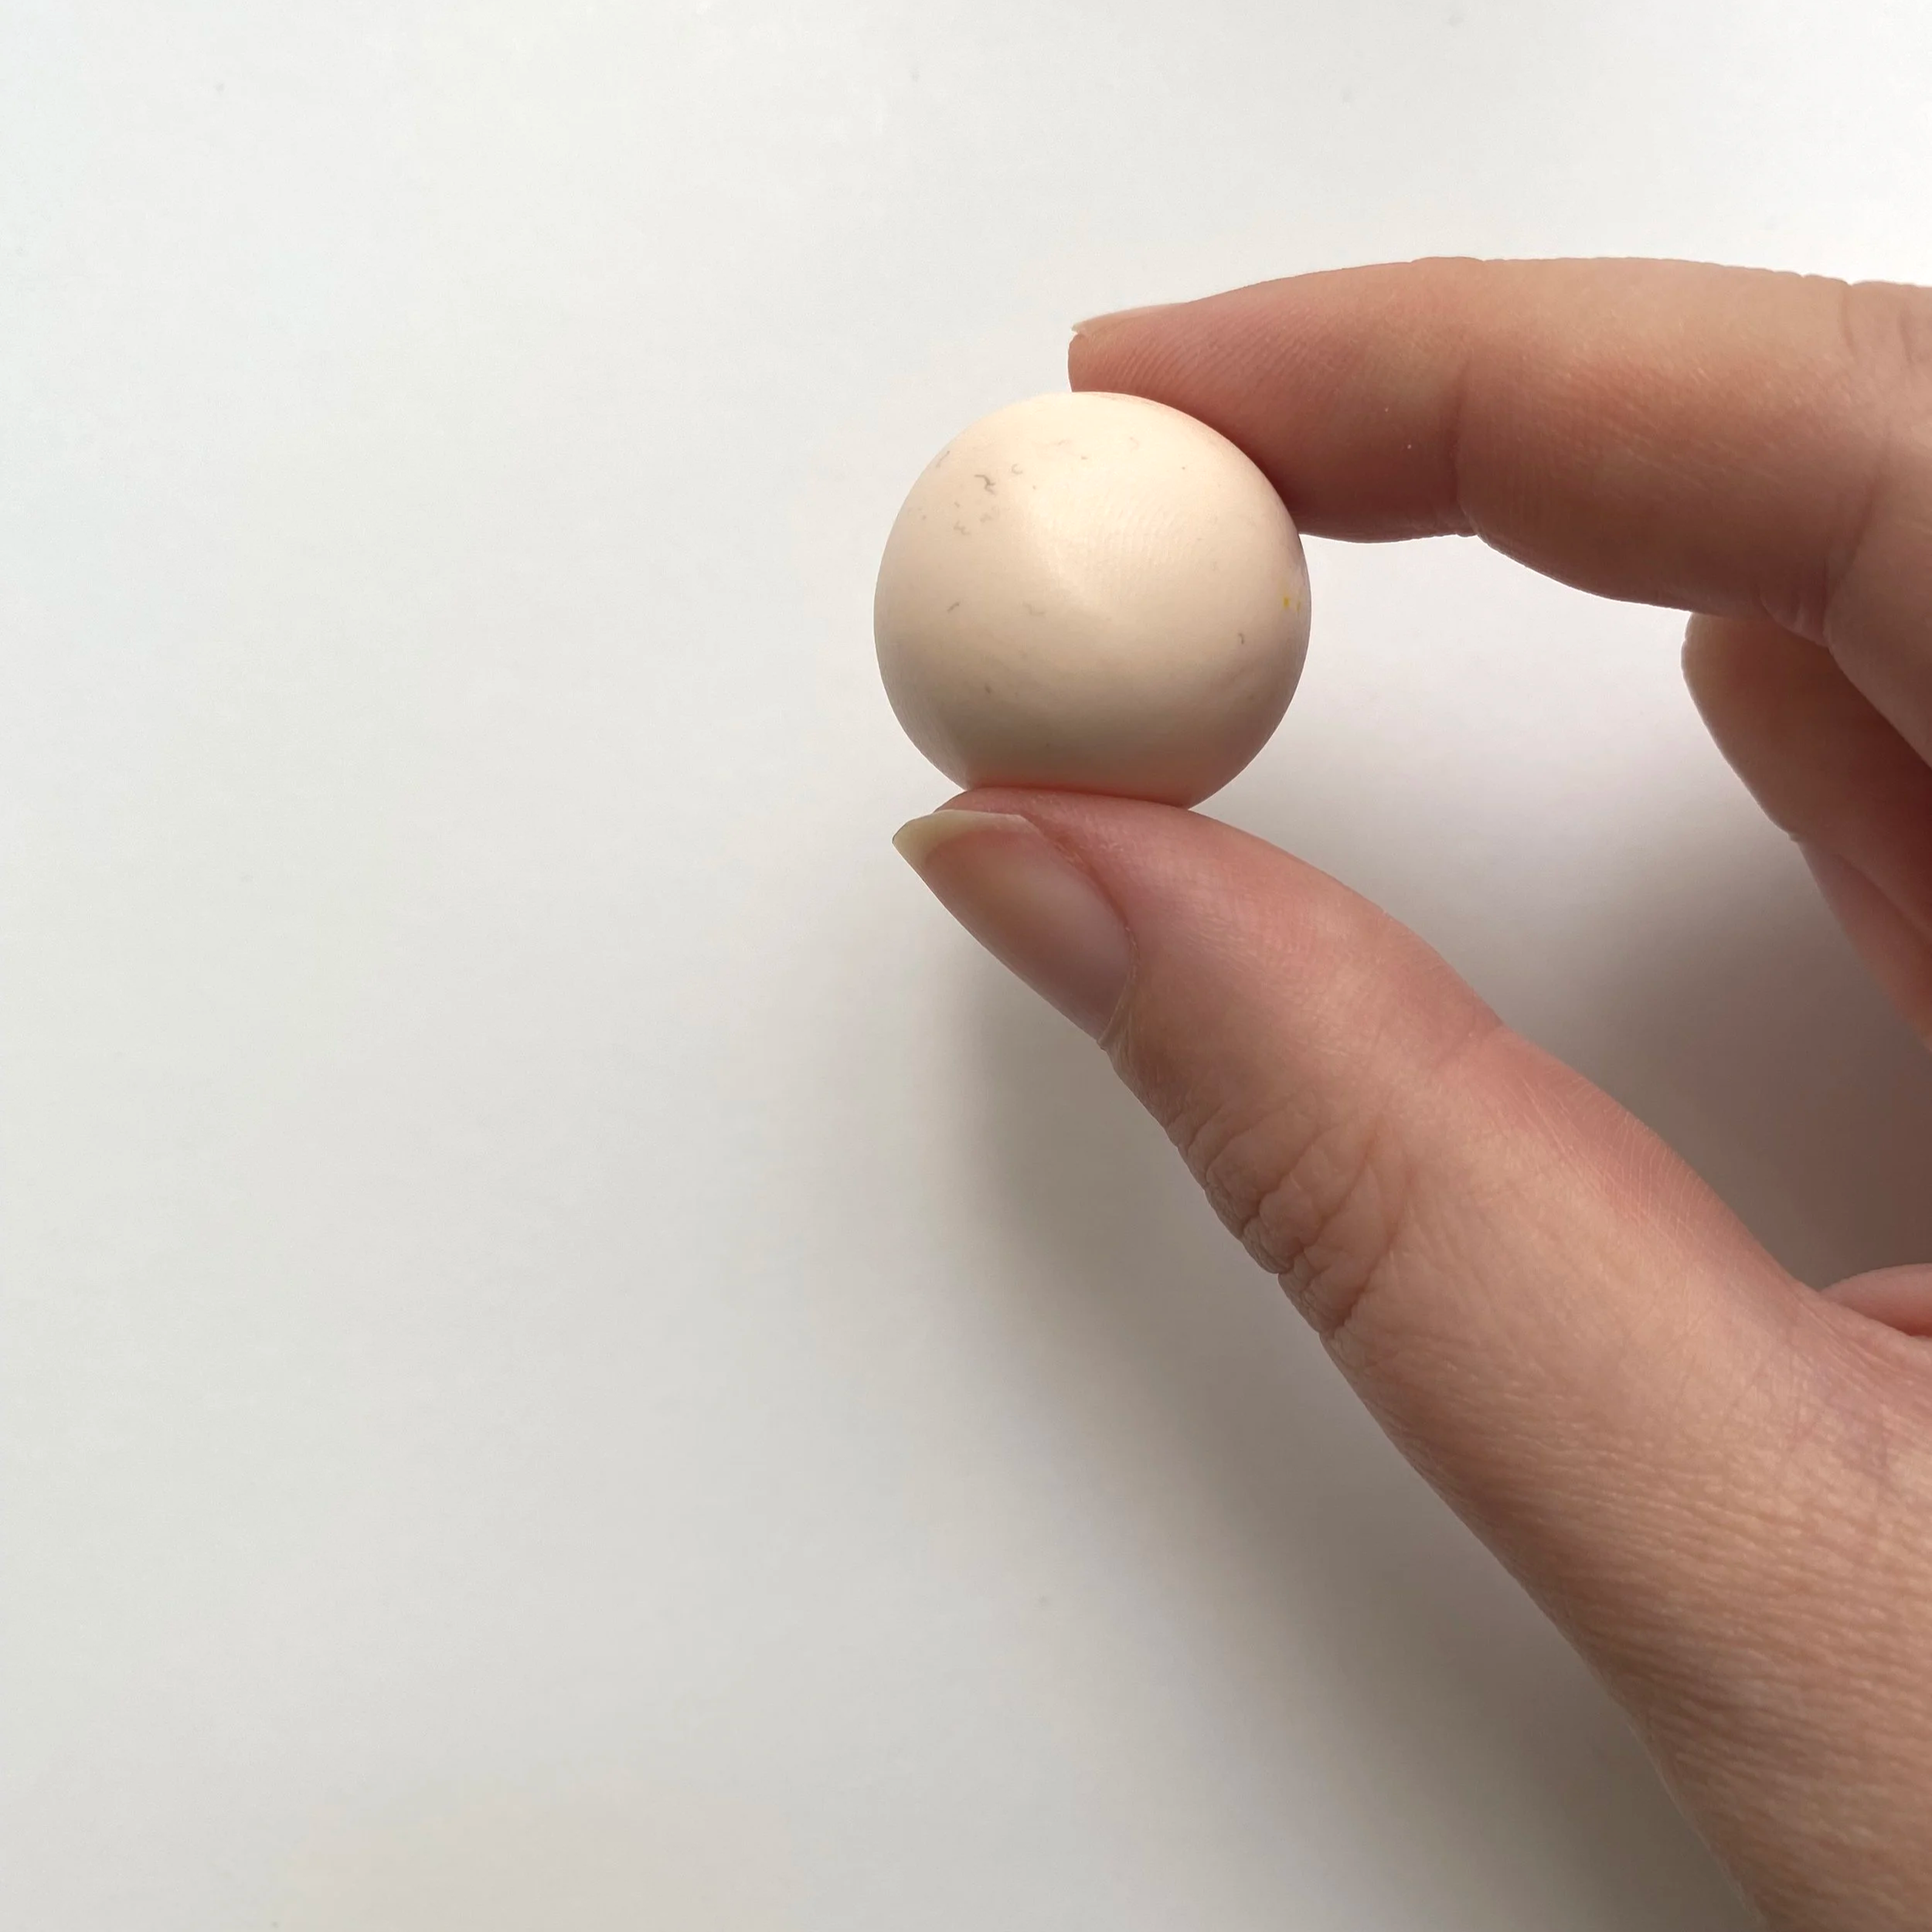
Divide your clay into sections, these can be any size you desire. As a guide, for the larger, pale pumpkins pictured here, we began with sections measuring between 3-5 cms. Roll each section into a ball shape. It doesn’t need to be perfectly round. Leave a scrap of clay to the side to model your stalks from later.
Sculpt your pumpkin:
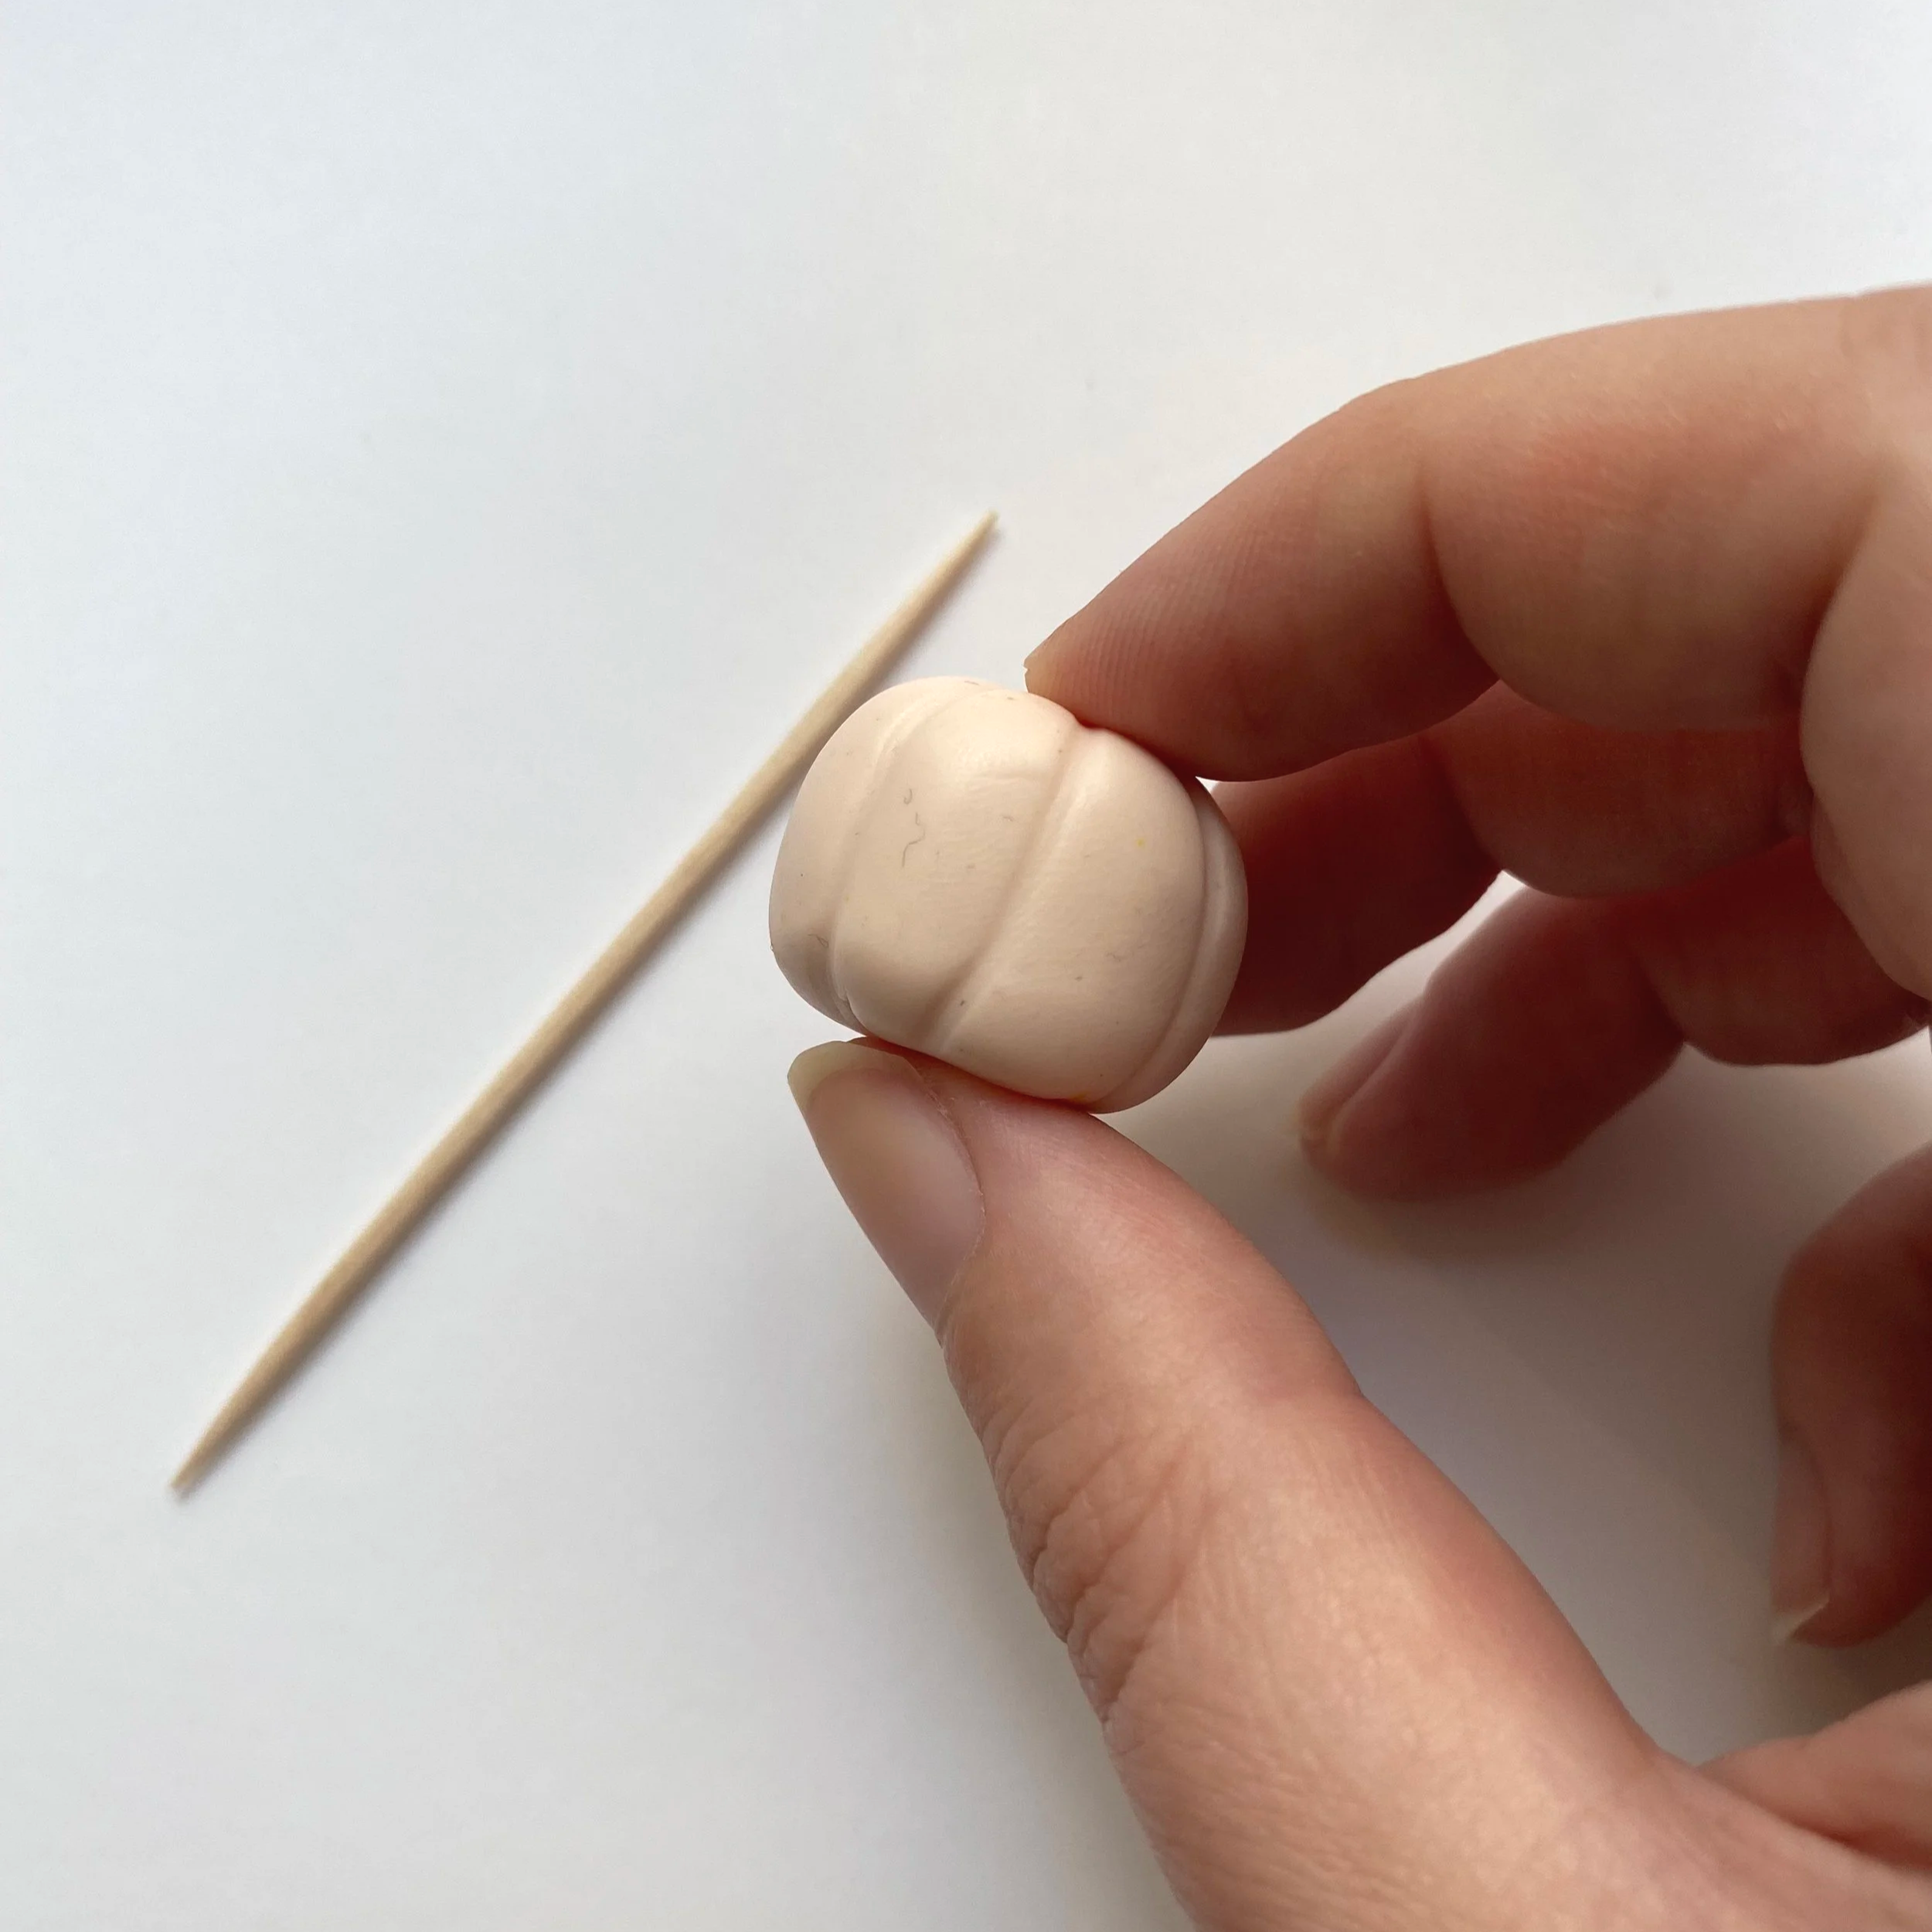
Gently press the top of your pumpkin to make a slight indent, this is done easily with your fingertips or you can use a small balling tool. Using a gentle rocking motion, lightly press the length of the cocktail stick to create subtle indents around the edge of the pumpkin. Transfer the pumpkins to your ceramic tile and add any further detail. To add the stalks, take a small piece of your scrap clay and roughly shape into a conical shape. Using the sharp tip of the cocktail stick, attach the stalk into the indent at the top of you pumpkin. Use the cocktail stick to add some texture to the stalk.Bake your pumpkins according to the clay manufacterer’s instructions.
Finishing touches:
Once the pumpkins are baked and cooled, use acrylic paint to add finer details and shading. Here we used brown paint to shade the stalks and add a very light wash on the pumpkin surface to highlight sculpted details. Leave to dry thoroughly. Your seasonal minis are now ready to display.